프로젝트 폴더 안에 frontend / backend 생성

PS D:\vue\frontend> cd ../
PS D:\vue> mkdir backend
디렉터리: D:\vue
Mode LastWriteTime Length Name
---- ------------- ------ ----
d----- 2024-05-03 오전 12:12 backend
PS D:\vue> cd backend
PS D:\vue\backend> npm init
This utility will walk you through creating a package.json file.
It only covers the most common items, and tries to guess sensible defaults.
See `npm help init` for definitive documentation on these fields
and exactly what they do.
Use `npm install <pkg>` afterwards to install a package and
save it as a dependency in the package.json file.
Press ^C at any time to quit.
package name: (backend)
version: (1.0.0)
description:
entry point: (index.js)
test command:
git repository:
keywords:
author:
license: (ISC)
About to write to D:\vue\backend\package.json:
{
"name": "backend",
"version": "1.0.0",
"description": "",
"main": "index.js",
"scripts": {
"test": "echo \"Error: no test specified\" && exit 1"
},
"author": "",
"license": "ISC"
}
Is this OK? (yes)
PS D:\vue\backend>
express 설치

backend/index.js 생성 후 아래 코드 붙여넣기
const express = require('express')
const app = express()
const port = 3000

app.get('/', (req, res) => {
  res.send('Hello World!')
})

app.listen(port, () => {
  console.log(`Example app listening on port ${port}`)
})
node .\index.js 실행

localhost:3000 으로 접속해보면 내용이 뜬다!

!! 기본 구조 !!

backend 서버 실행 : node .\index.js

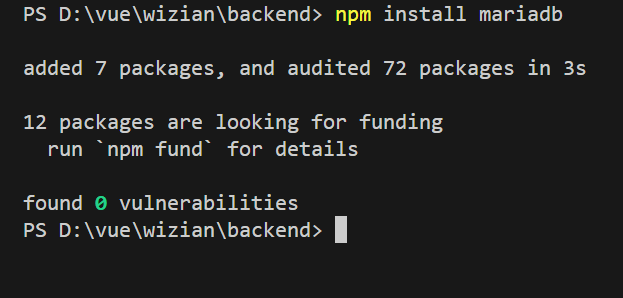
mariaDB
npm install mariadb
https://mariadb.com/kb/en/getting-started-with-the-nodejs-connector/
Getting Started With the Node.js Connector
Available through the Node.js repositories; install using npm.
mariadb.com
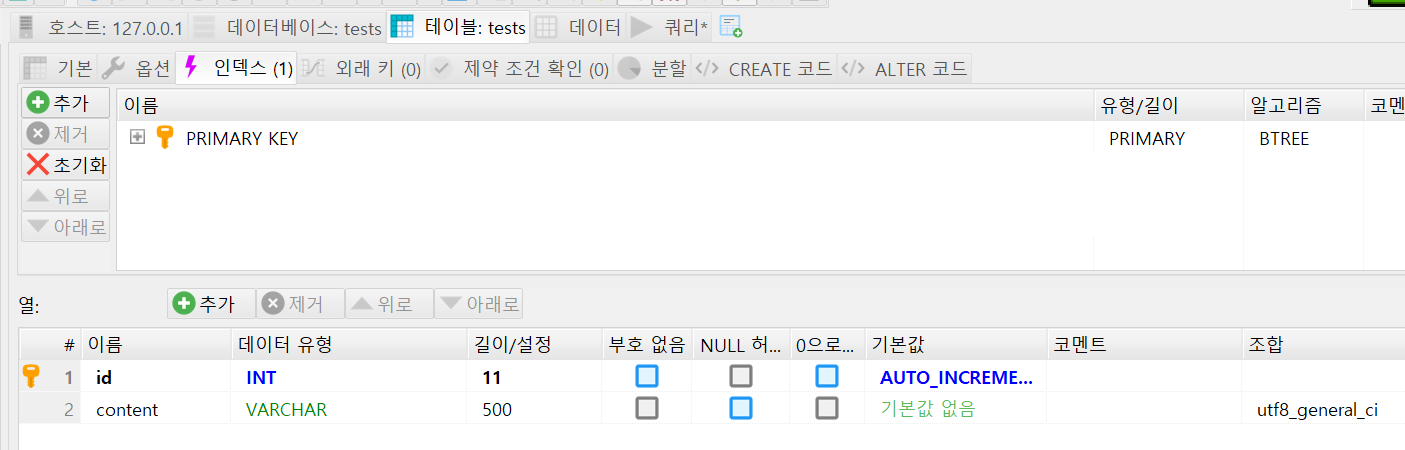
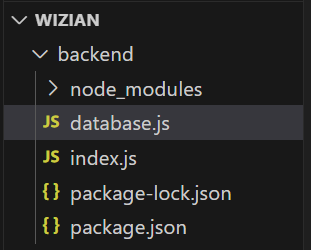
backend/database.js
const mariadb = require('mariadb');
const pool = mariadb.createPool({
     host: '127.0.0.1',
     user:'root',
     password: '',
     connectionLimit: 5,
     database:'tests'
});


module.exports = {
    run(query){

pool.getConnection()
    .then(conn => {
      conn.query(query)
        .then((rows) => {
          console.log(rows);
        })
        .then((res) => {
          console.log(res);
          conn.end();
        })
        .catch(err => {

          console.log(err);
          conn.end();
        })

    }).catch(err => {

    });
}

}
backend/index.js
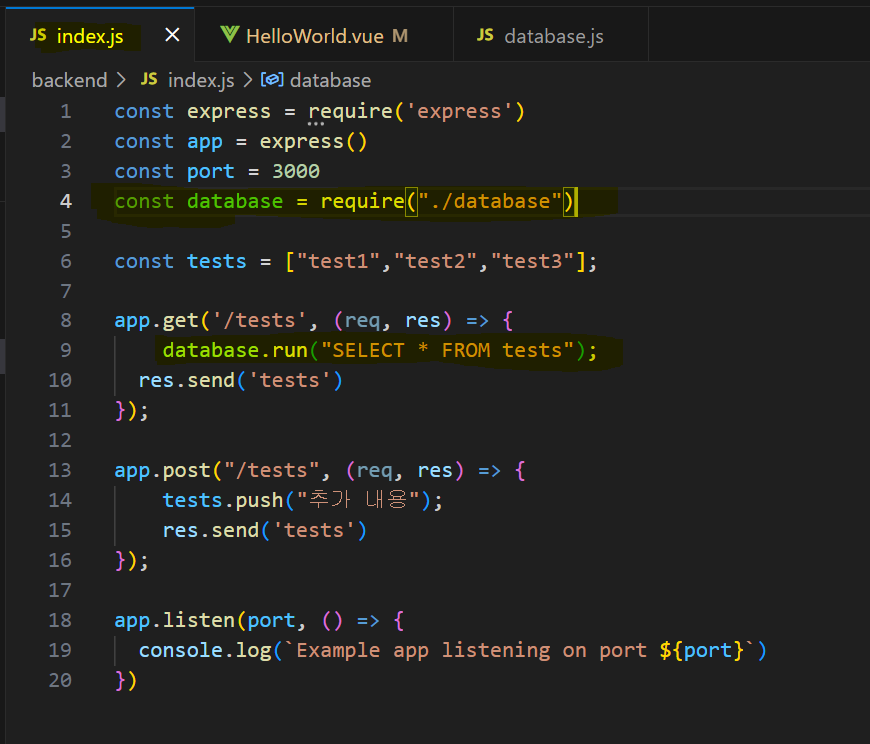
const express = require('express')
const app = express()
const port = 3000
const database = require("./database")
const tests = ["test1","test2","test3"];
app.get('/tests', (req, res) => {
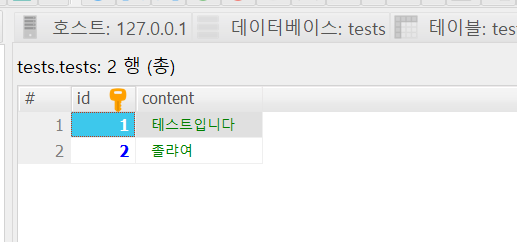
database.run("SELECT * FROM tests");
res.send('tests')
});
app.post("/tests", (req, res) => {
tests.push("추가 내용");
res.send('tests')
});
app.listen(port, () => {
console.log(`Example app listening on port ${port}`)
})
backend
node .\index.js 실행 후 http://localhost:3000/tests 접속하면 터미널에 아래 이미지처럼 데이터베이스의 데이터가 출력됨

'개발 공부 Today I Learned' 카테고리의 다른 글
| [국비 TIL] 프로젝트 - 심리검사 페이지 ERD, DB 테이블 (0) | 2024.05.03 |
|---|---|
| [국비 TIL] 코틀린 기초 (0) | 2024.05.02 |
| [국비 TIL] H2 Database, JPA (0) | 2024.04.30 |
| [국비 101일차 TIL] 취업 준비 기간 (0) | 2024.04.19 |
| [국비 100일차 TIL] 취업 준비 시작 (0) | 2024.04.17 |


댓글